
Often, I go hard on a house project, burn myself out, and then need a break and new inspiration. After completing the study, I haven’t had much motivation to do much else. COVID winter has also left me unmotivated. I truly miss the warmer weather and being outside doing literally anything . I’ll even take weeding over this. (Hold me to it husband.)
Fortunately, I’ve been inspired again! A friend of mine recently asked my help to do some kitchen updates and one thing we discussed was possibly changing the privacy film on her backdoor windows. I liked the idea of perhaps creating the effect of old stained glass windows.

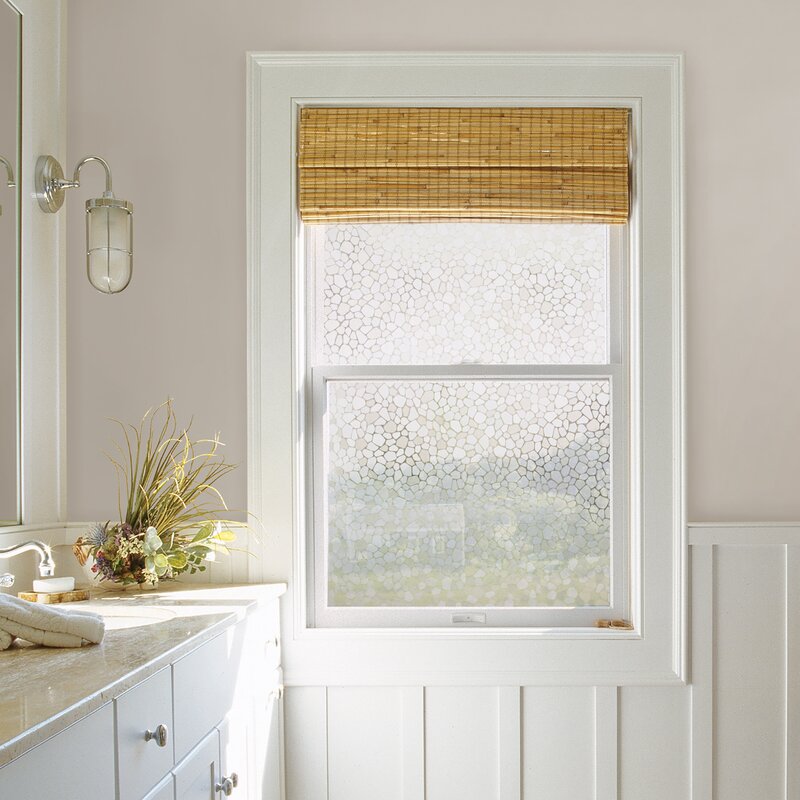
I didn’t like the pebbled look in the picture on the right, but I liked the idea of figuring out what I could do instead of buying a film to place on the window. When I did some more research I found that you can actually make your own stained glass windows. Whaaaaa!?! I was immediately interested in trying it out in our own house.
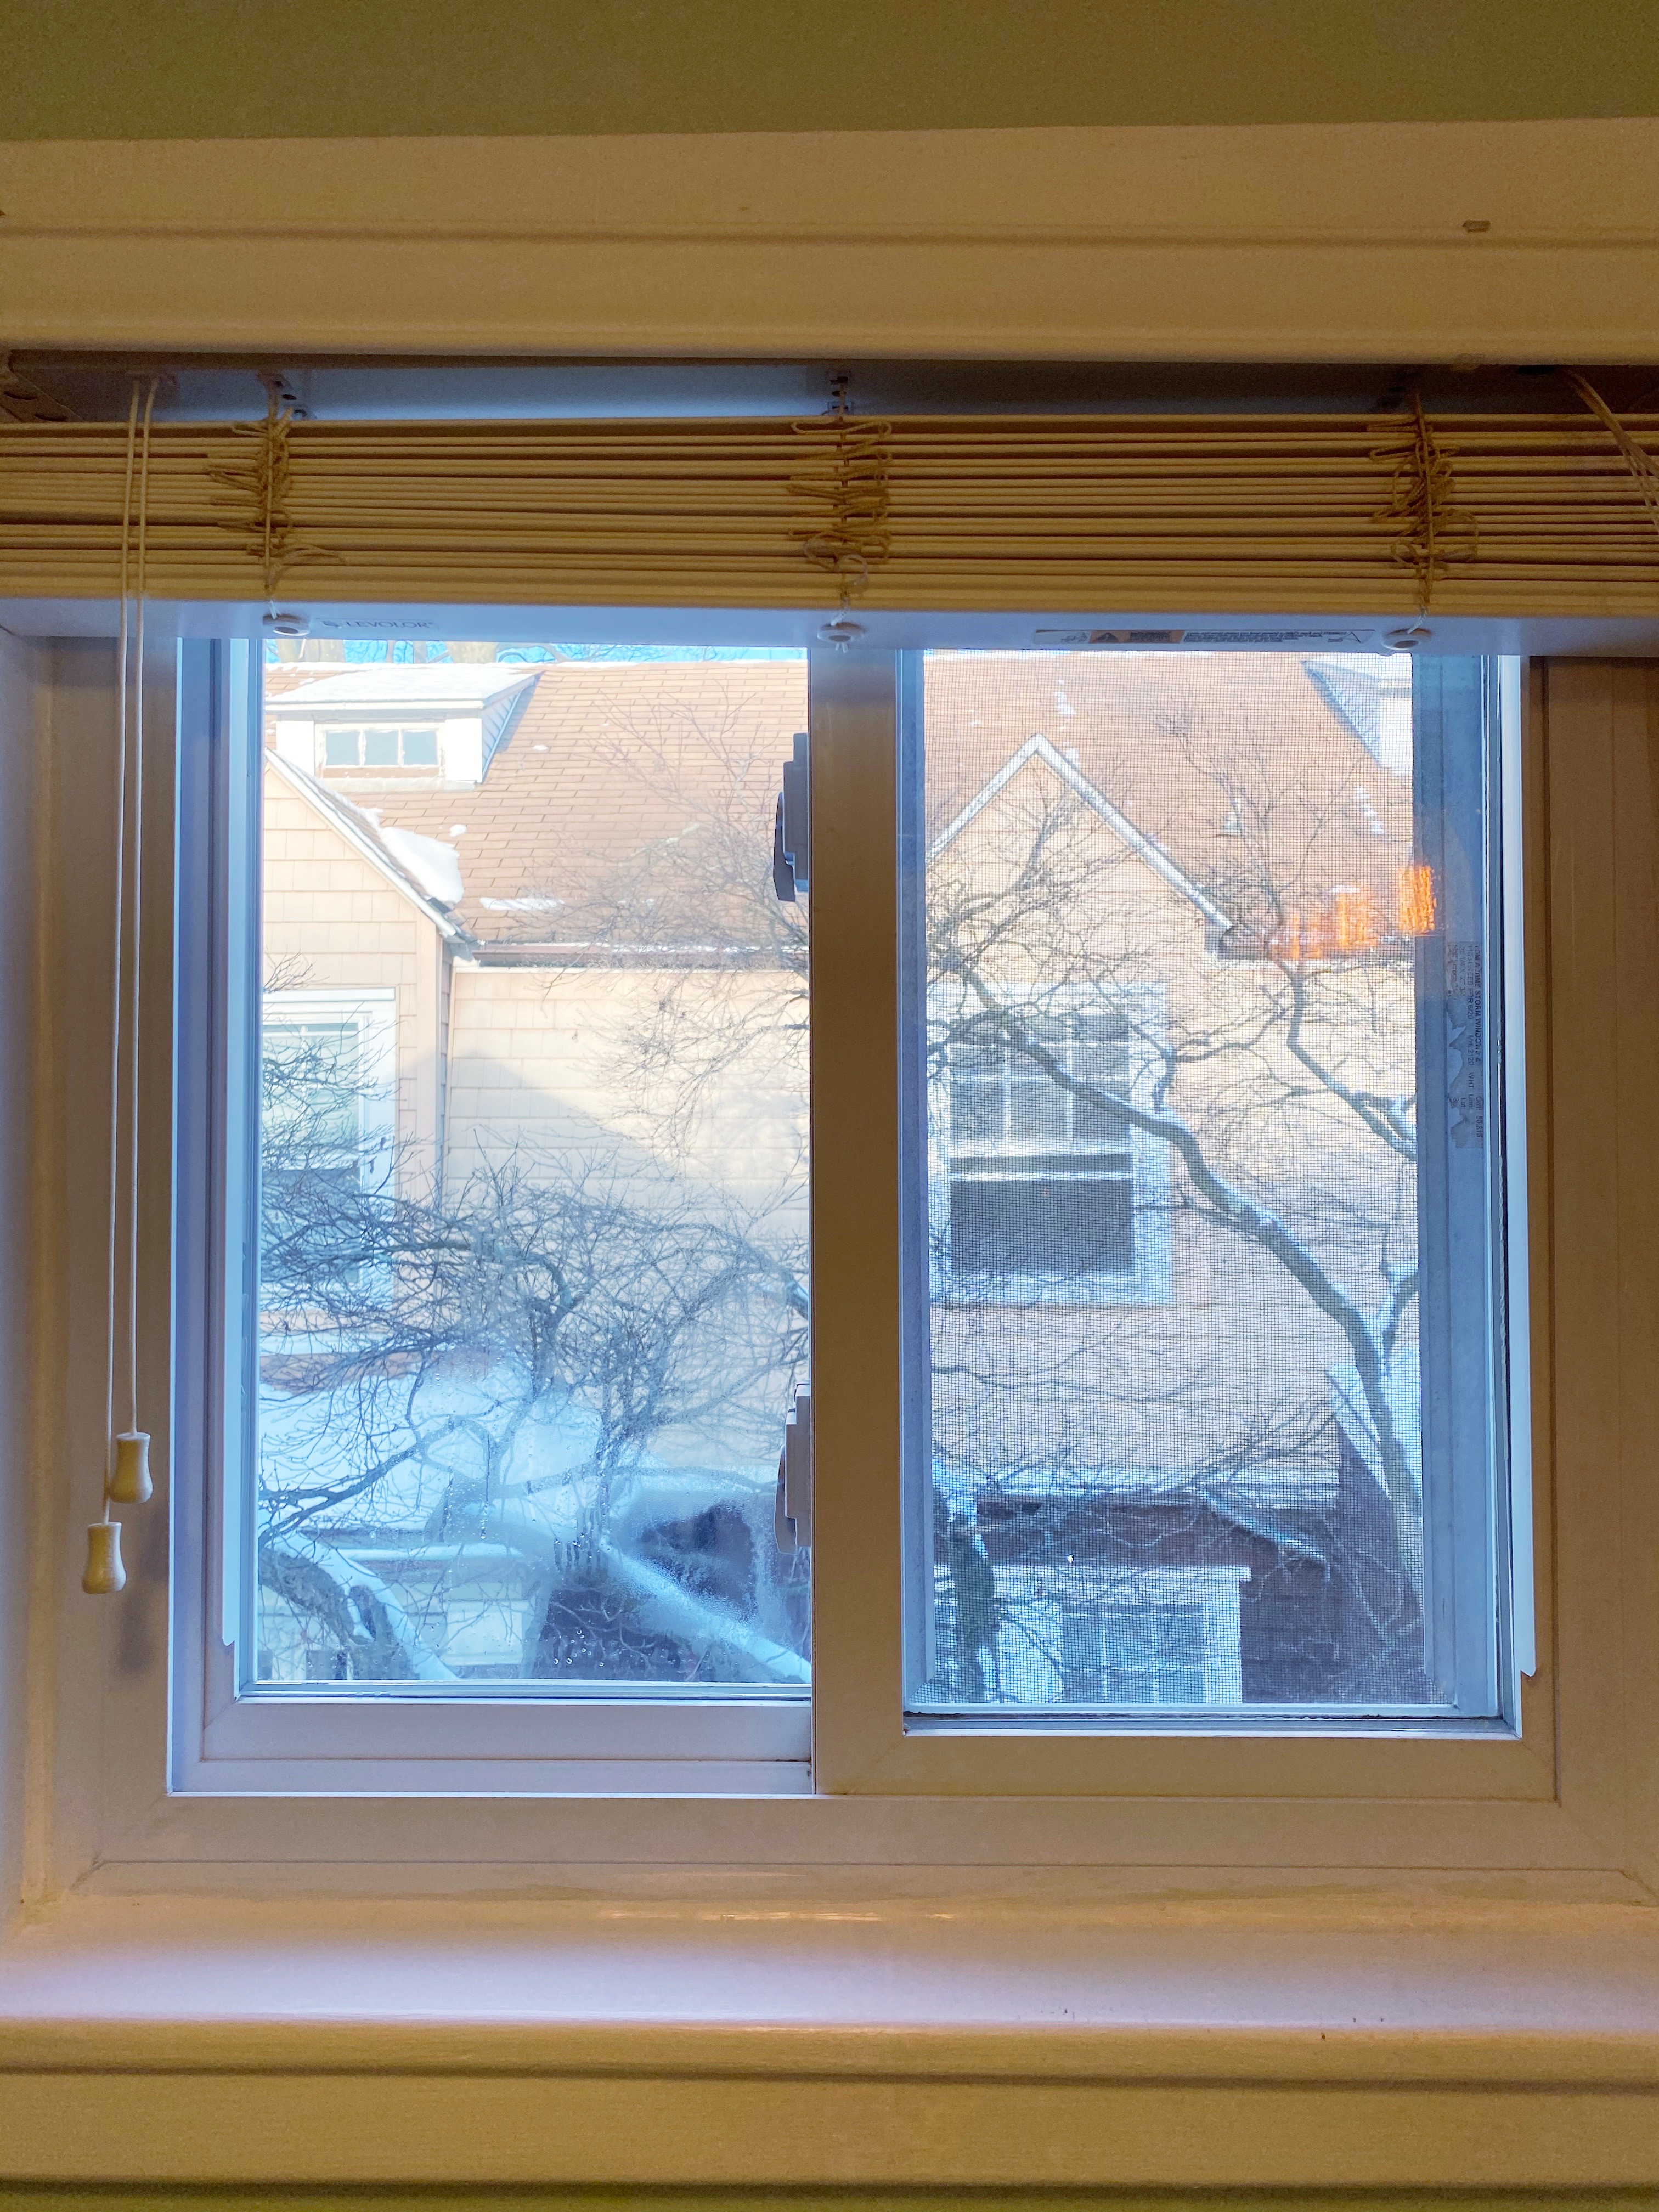
When we moved in, Brent and I never liked the blinds we had upstairs. They’re heavy, clunky, and hard to keep straight. They are in our bedroom, hallway, and bathroom. I am glad I finally found an excuse to take them out of the bathroom. With the tools handy I also took them out of our bedroom. It feels less restrictive — we can now just open and close the curtains to see the outdoors unhindered by the blinds. For the bathroom, we decided to try making the stained glass effect in order to gain privacy and more light.
You can purchase Gallery Glass online. It comes in various colors and you can actually make lead lines as well to create patterns. As I wasn’t trying to go for that look, I just got clear. I looked at several different tutorials online as the most daunting part of the project was creating the “look” of the glass. The suggestions included using toothpicks, moving your fingers in a circular fashion, dabbing the gallery glass with your fingers, and using a paintbrush. I honestly started with moving my fingers in a circular fashion and then got really worried that it would look too much like finger painting once it dried so I ended up dabbing the gallery glass with my fingers.
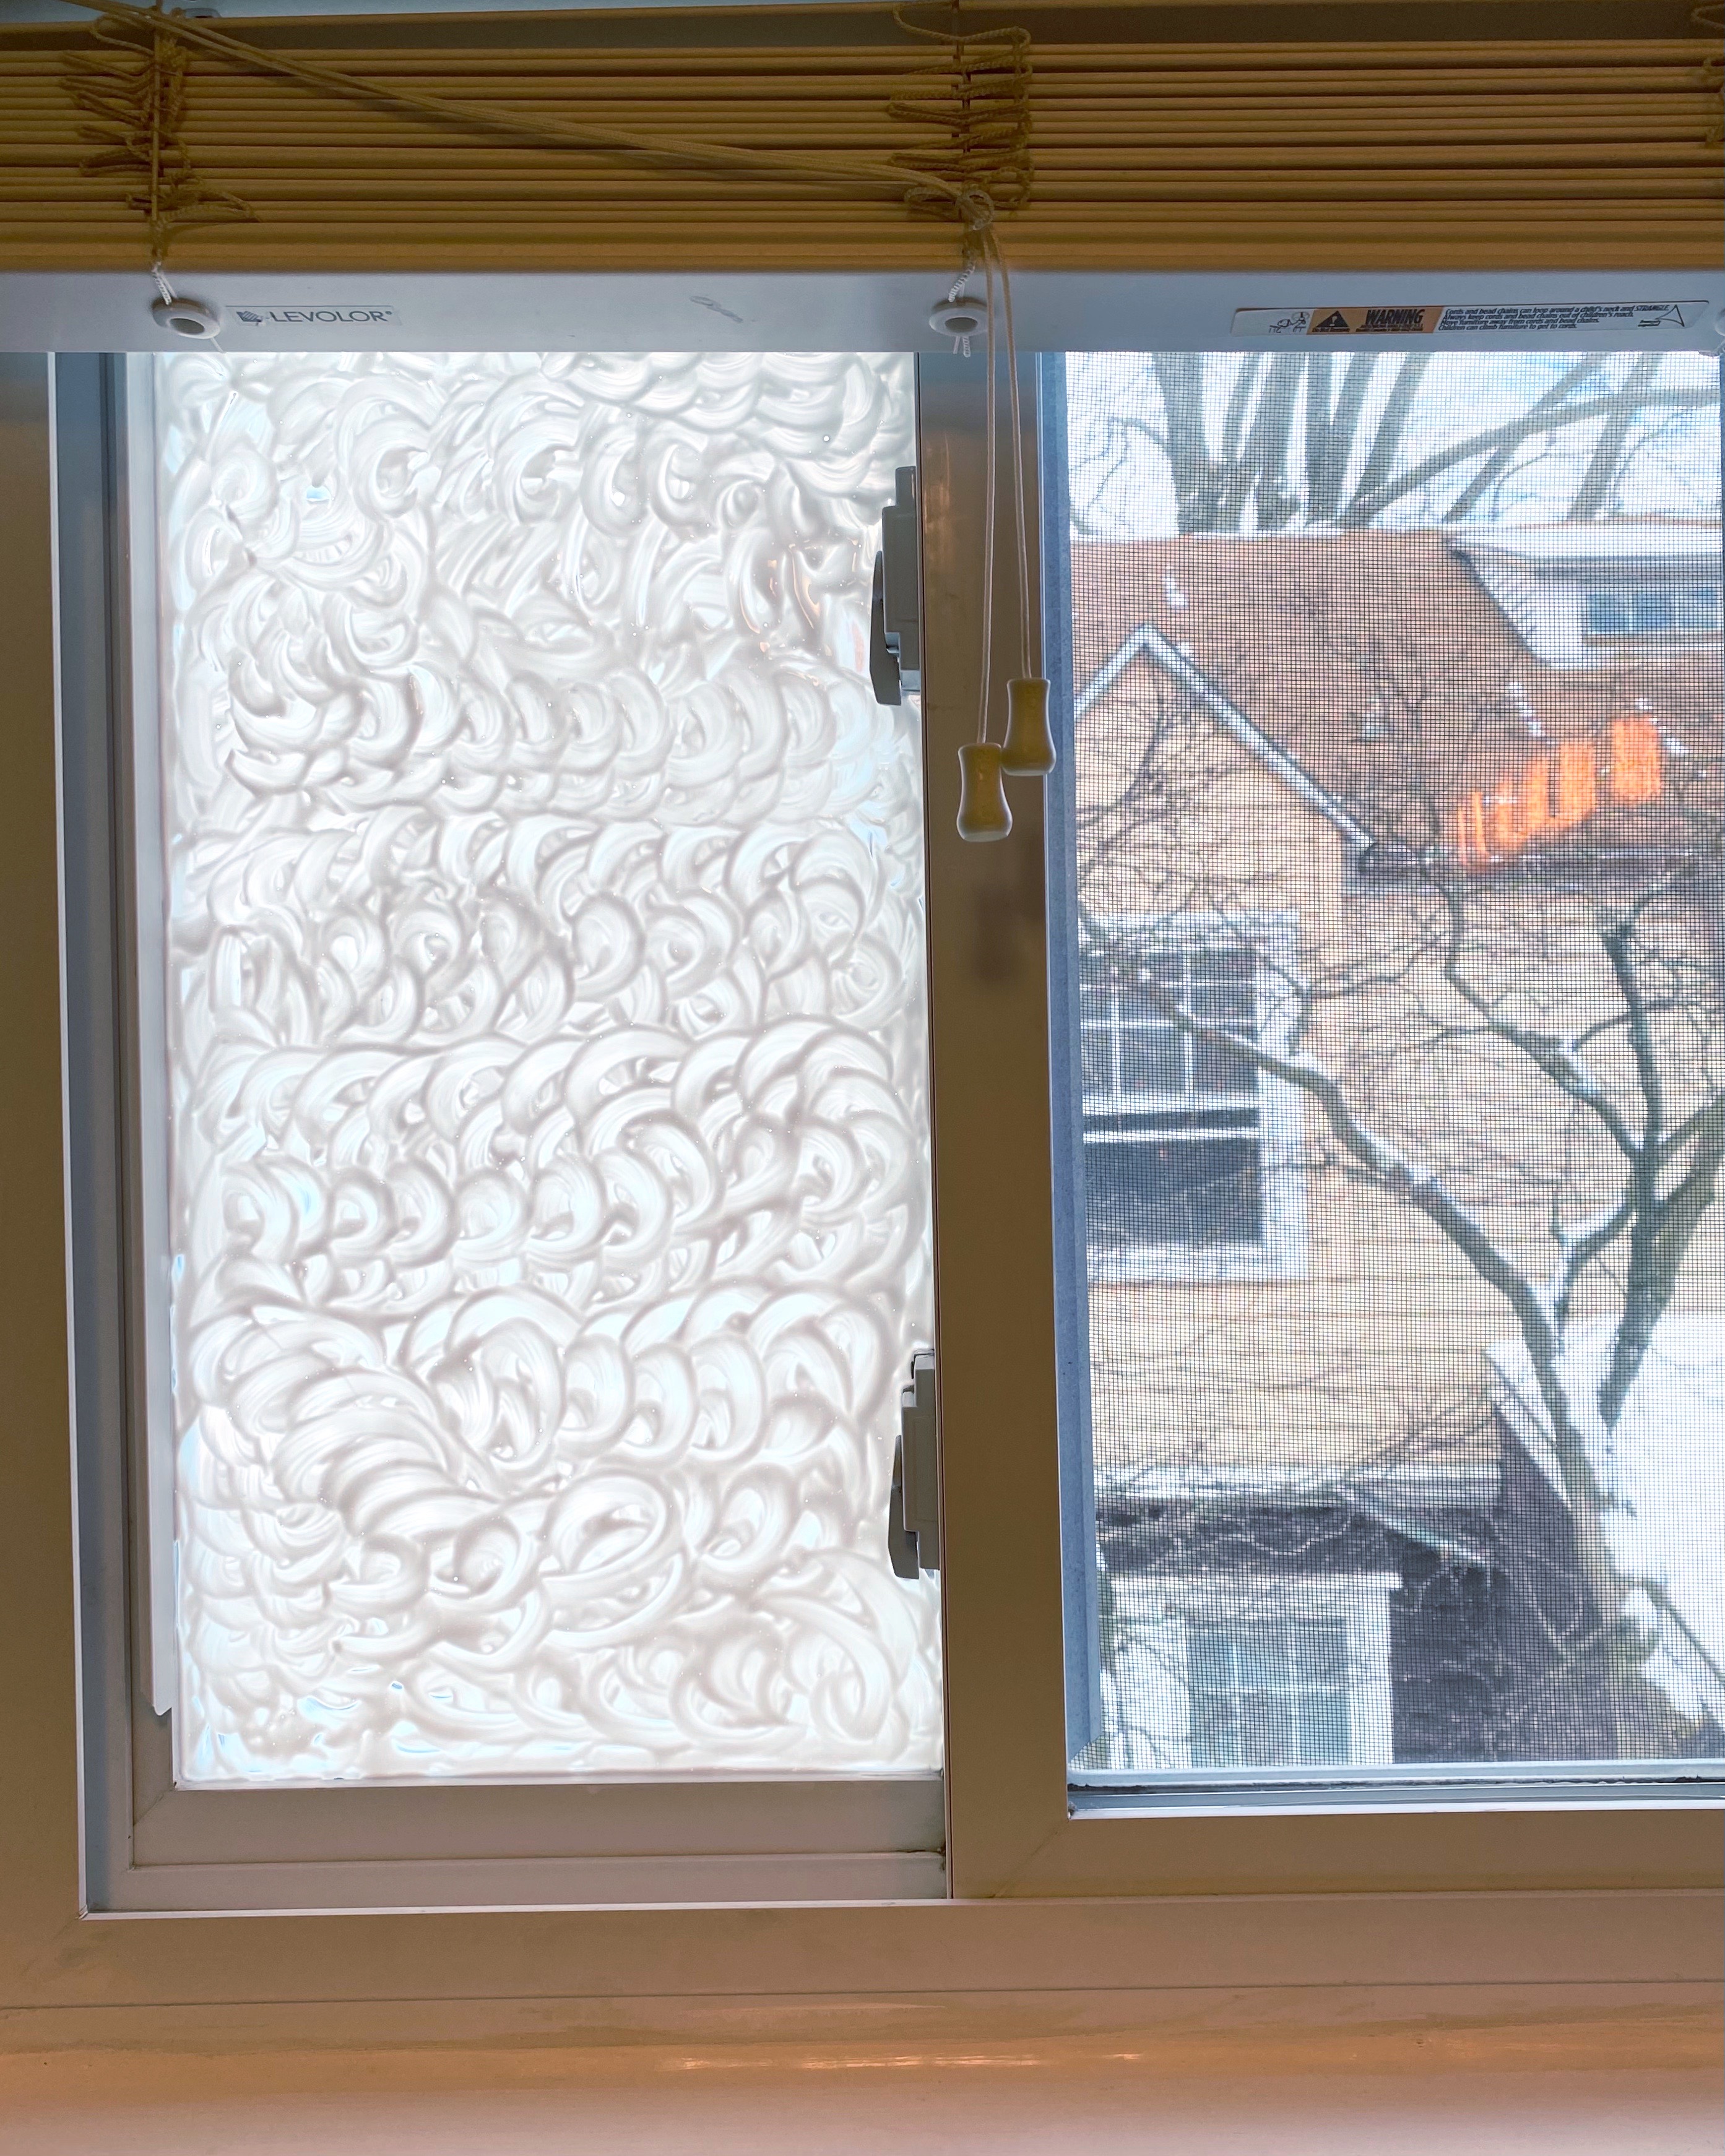

The gallery glass appears white when putting it on and dries clear. While doing research on the process, someone suggested using Q-Tips to clean up any excess around the frame, but I found using a wet finger tip worked better and helped prevent smudging of the gallery glass on the actual window. I used a wet paper towel for any excess.
It took a few hours before they were completely dry. At a total cost of $15.78 and about an hour of my time, it was finished! This really was the best option for this bathroom without spending a lot of money on a new blind and I love it!!
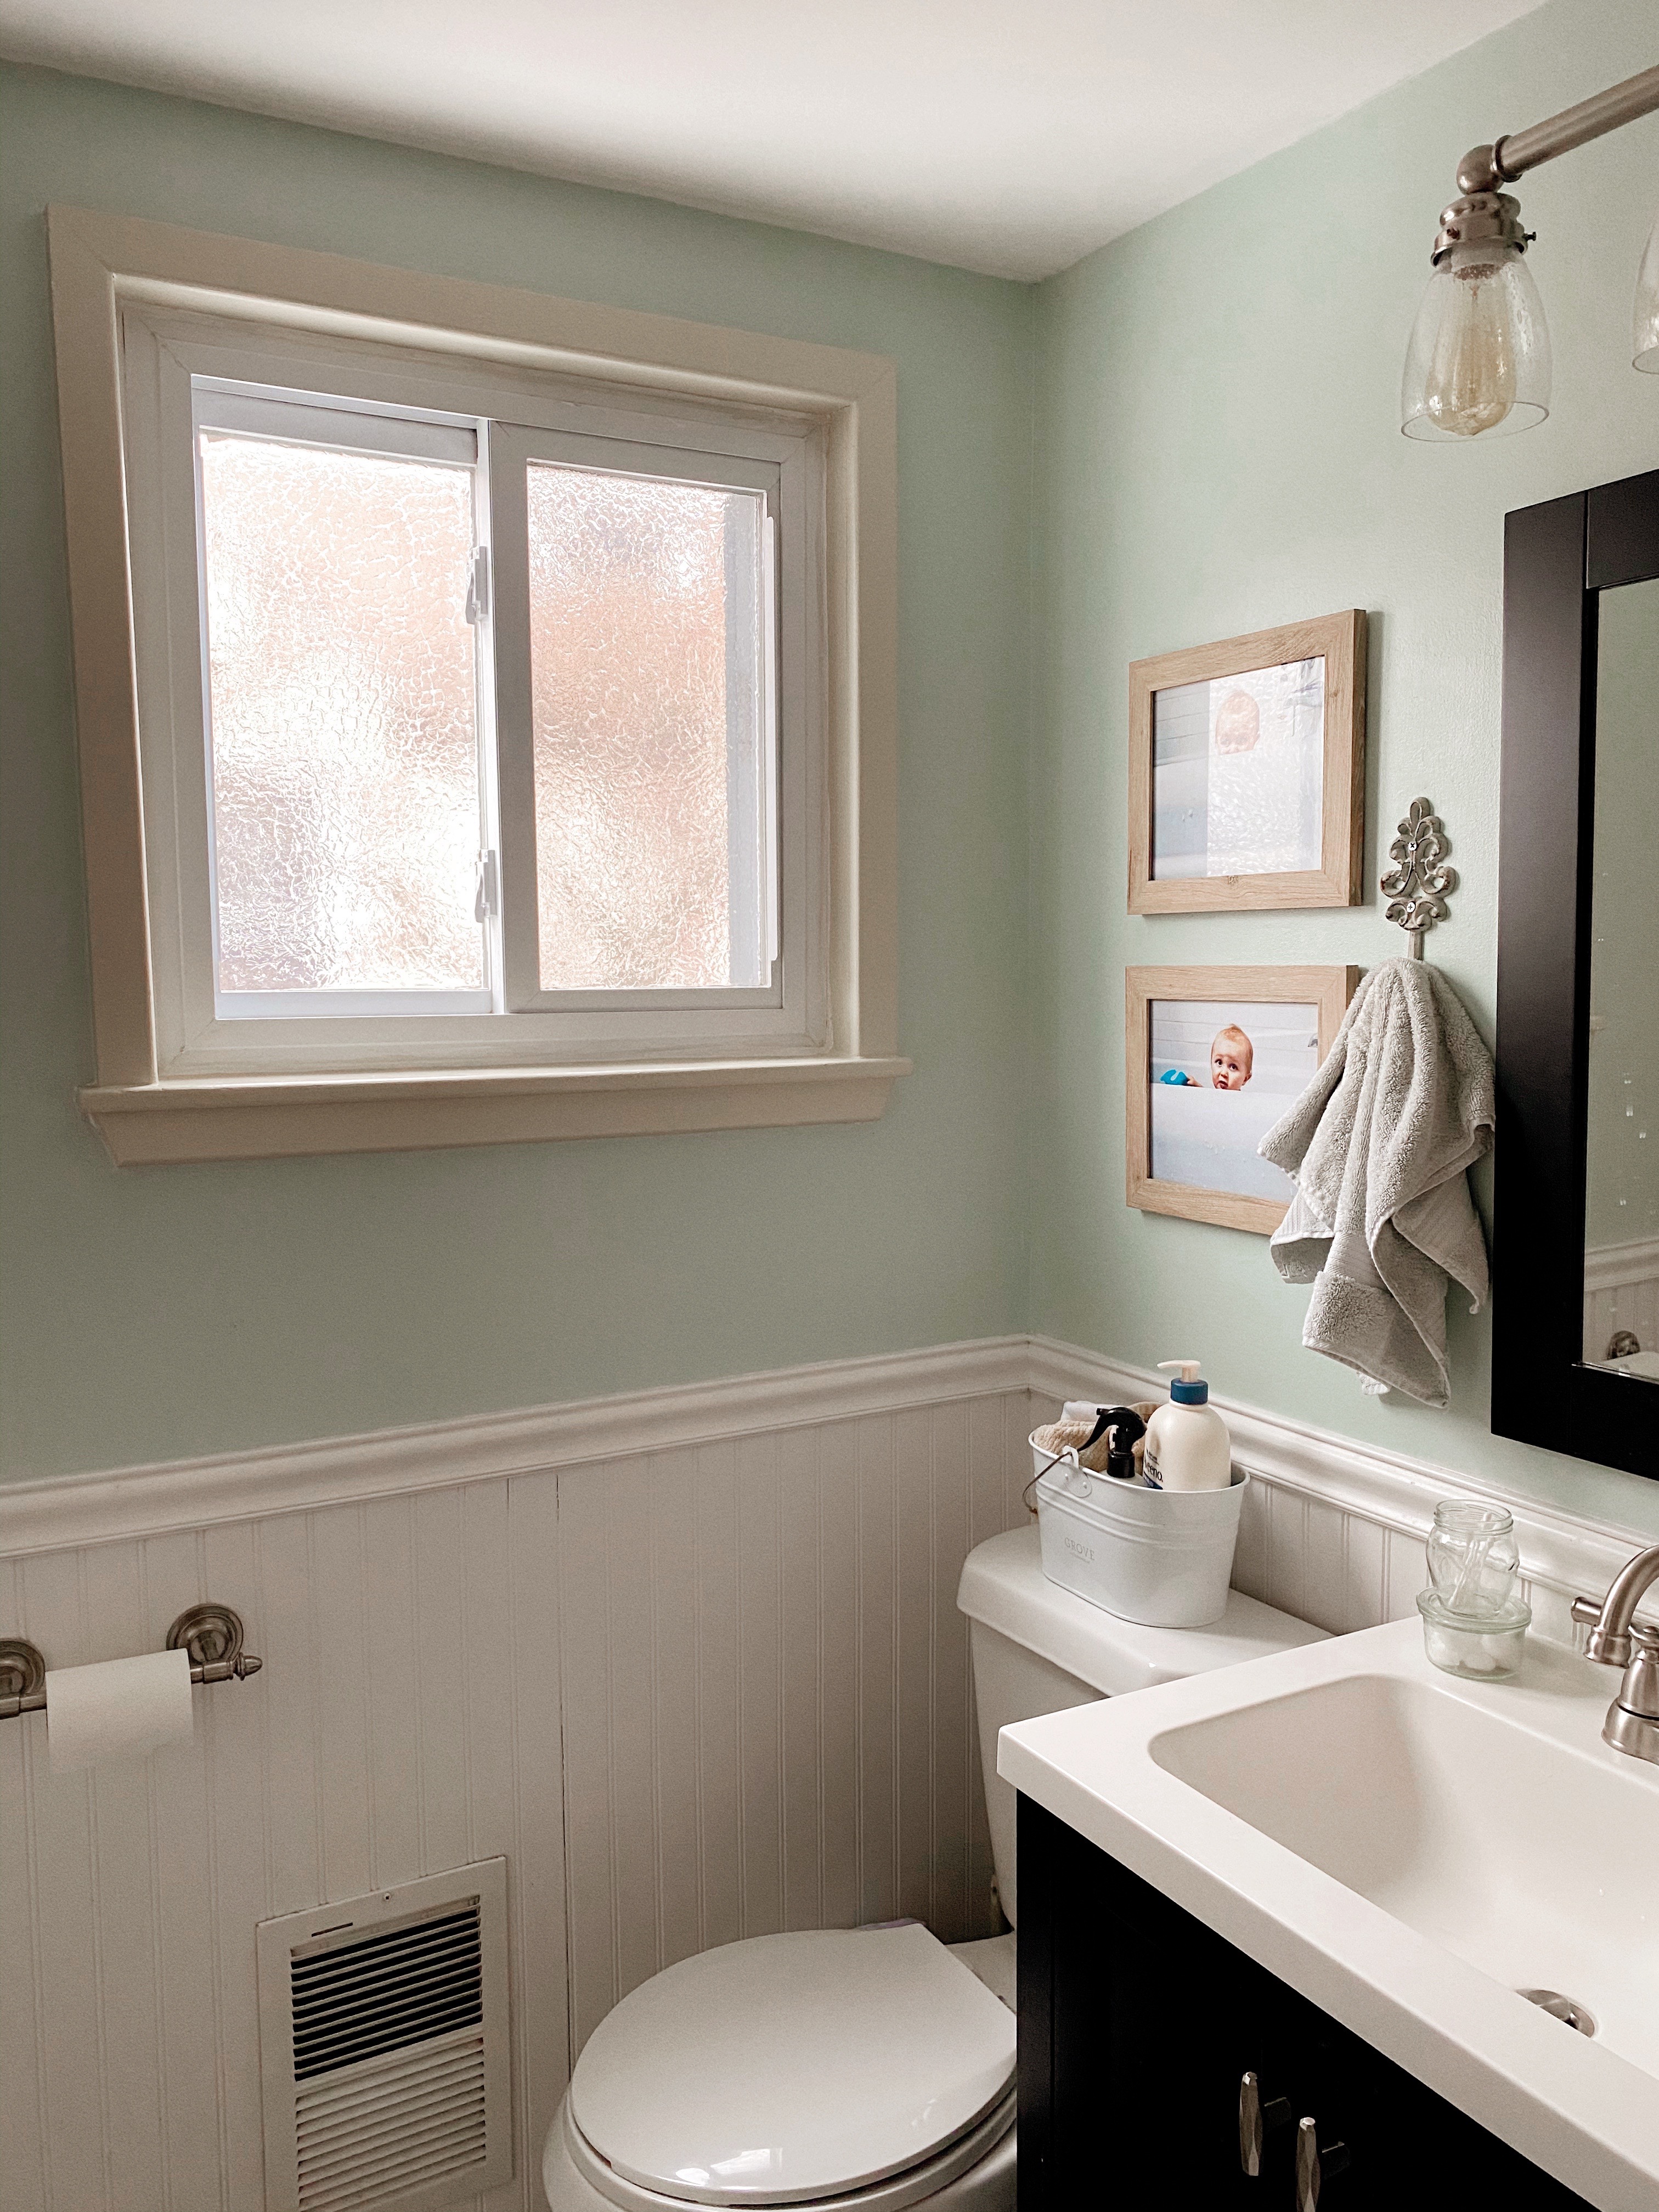


Although I chose to dab the Gallery Glass I think if I did it again, I’d try the toothpick method. I’m curious to see how it creates a different glass effect. I think it would likely be a little less rippled than how ours turned out.
Let me know what you think! Until next time.
Sources //
- Gallery Glass in Crystal Clear
